It seems like days of preparing components for the cot – lots of machining. And that is pretty much exactly what it has been. We have been working primarily with 190 x 45 Tassie Oak (kiln dried hardwood), although there has now been some pine thrown into the mix. Each piece has been resawn, planed, thicknessed. It really gives a sense of ownership of a project where every dimension is controlled by you, and not relying on standard timber sizes provided.
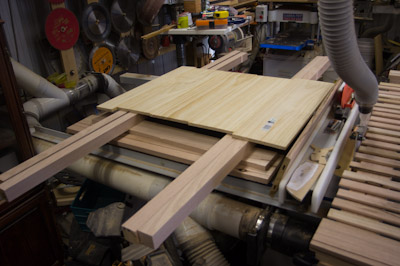
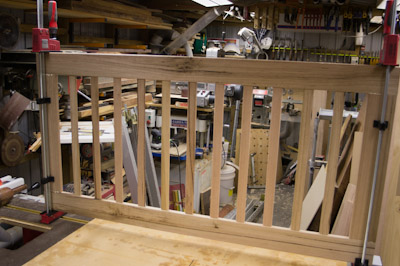
The panels at the end of the cot are made from solid pine, so were reduced in thickness to 12mm, then joined with the Frontline Panel clamps. With their unique action to cause the work to be held down, as well as together, they yield excellent results. More on these end panels later – we will leave them now while the glue dries.
After machining so many components, it was useful to lay them out according to the parts they are made for.
Lots of individual parts in one of these things!
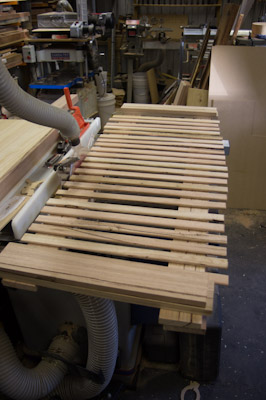
Cutting the mortises for the slats is made incredibly simple with the Festool Domino, and with the extension wings added on either side to get exactly the desired clearance between the slats (and in accordance with Australian Standards). A job that could otherwise take hours completed in a matter of minutes.
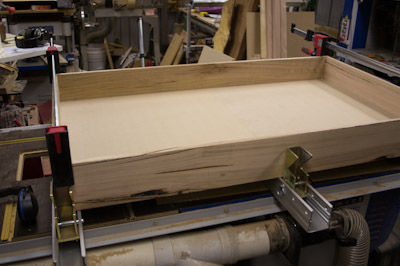
The mattress section was assembled and glued, and there was a slight problem with the MDF sheet – it was not 6mm thick as it should have been, being up to 0.5mm out, which made it bind in the slot that was cut. So the power of the Frontline clamps was bought into play – this time by converting to a standard panel clamp layout, then the Frontlines were closed up. It took no where the full 4 tonne these clamps are capable of, and nothing can resist!
Now the observant among you will notice I have opened my Bessey account. I decided to go with a brand that was readily available, so started my new collection with 2x 1000mm and 2x 600mm Bessey clamps. Now I just need more (and more clamp sizes)
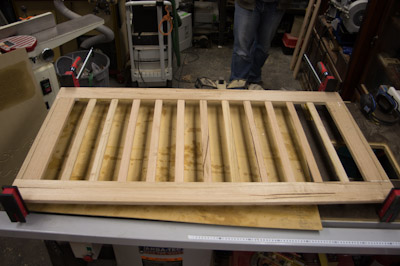
So once the sides were routered, it was time for it to go together. The slats were not glued – easy to remove if they ever break (presumably not – we have already torture tested them).
It is really looking like a cot now!
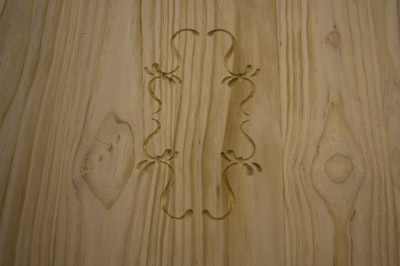
Once the end panels were dry, it was time to add some details, so I chose to go with the 3D router carver from Carbitool. One panel got a classic treatment. The other found something a lot more appropriate.
So assembly has begun in earnest. Hard to stop once the finish line is in sight!
Filed under: Project, Techniques, Timber | Tagged: 3D Router, Bessey, Carbitool, Cot, Domino jointer, Frontline |





Beaut,cute and full of skill. Just wonderful. (Beats going to church when ya got ya own “Cathedral” (shed-place to worship in.)
Nice work Stu. Nice touch with the routed detail.
Lovely work, Stu, but:
Hard to tell from the photo but it seems your mattress will rest on a solid (non ventilated) surface. You do know that his is a no-no, don’t you. If the mattress does not have air circulation underneath moisture builds up at the bottom of the mattress and everything mildews.
Tell me I’ve got it wrong and you have allowed ventilation.
Hmm – food for thought. Wonder if a matrix of holes will suffice?
Beautiful craftsmanship
Have made log sled from yellow tongue sanded it’s base.. A couple of things to work out. Have fitteded 4 feet of old 19mm water pipe and pipe clamps . Decision of sled length? I can manage approx four feet? Hopefully? thanks to Henreys Blades?
Not a bad idea- I can think of a few setups that would work well to feed sections of tree trunk into the bandsaw, especially now with the killer blade!
[…] Progress Report (stusshed.com) […]